
Creating a client profile in LedgerBoss helps you organize your database and track interaction history. Step-by-step instructions are below.
Creating a client profile
Open the client directory:
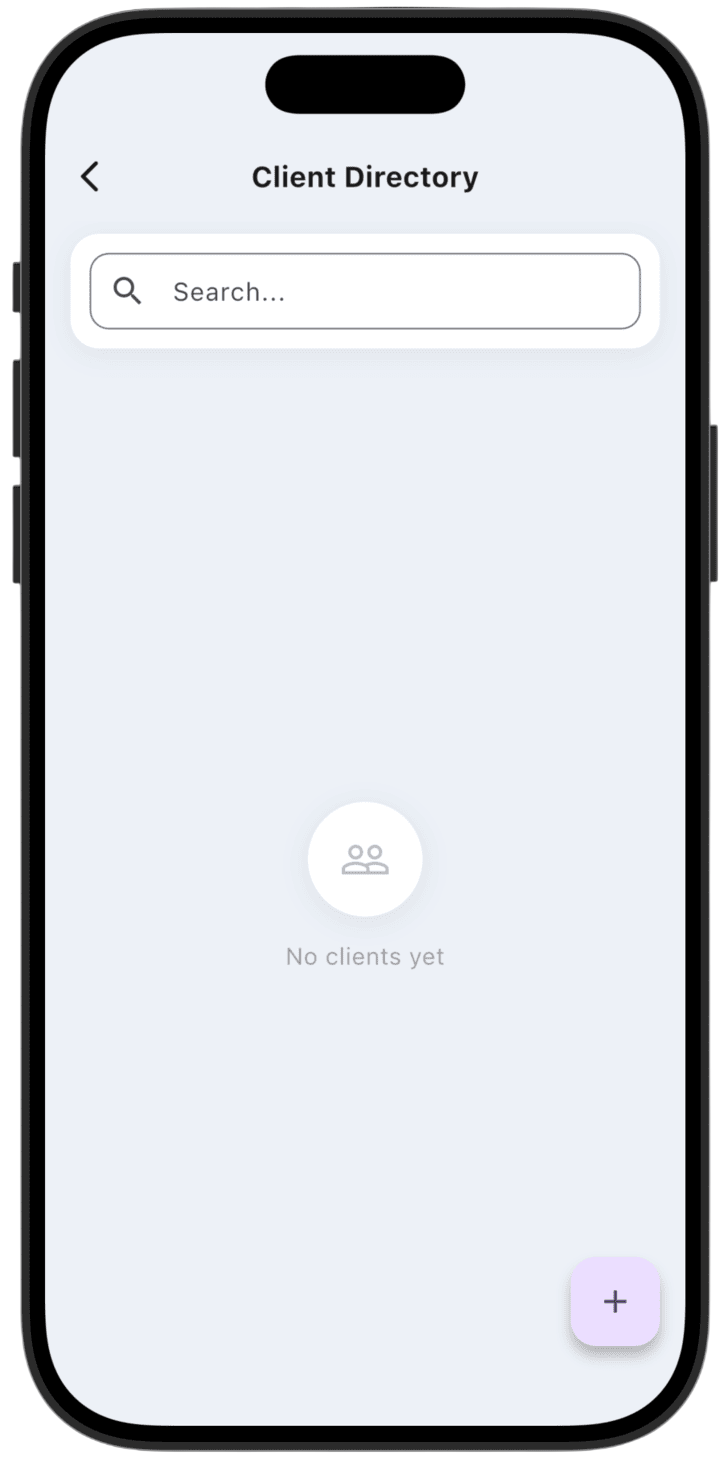
Go to Client Directory. If the list is empty, you will see No clients yet.
Start creating a profile:
Tap the + button in the bottom-right corner to open the add-client form.
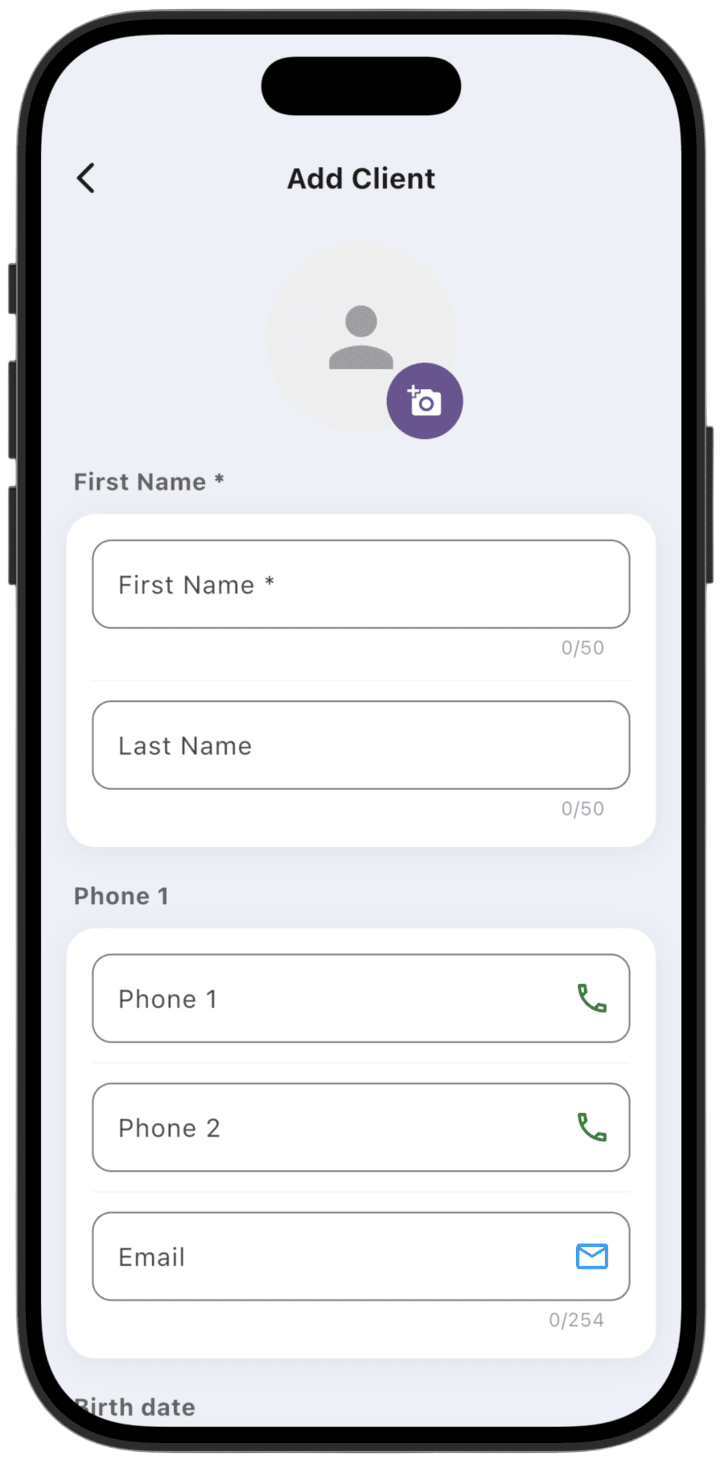
Fill in the required field: First Name. Other fields are optional:
Last Name, contact details: enter up to two phone numbers and an email address. You can also upload a profile photo (depending on plan: PRO, PREMIUM).
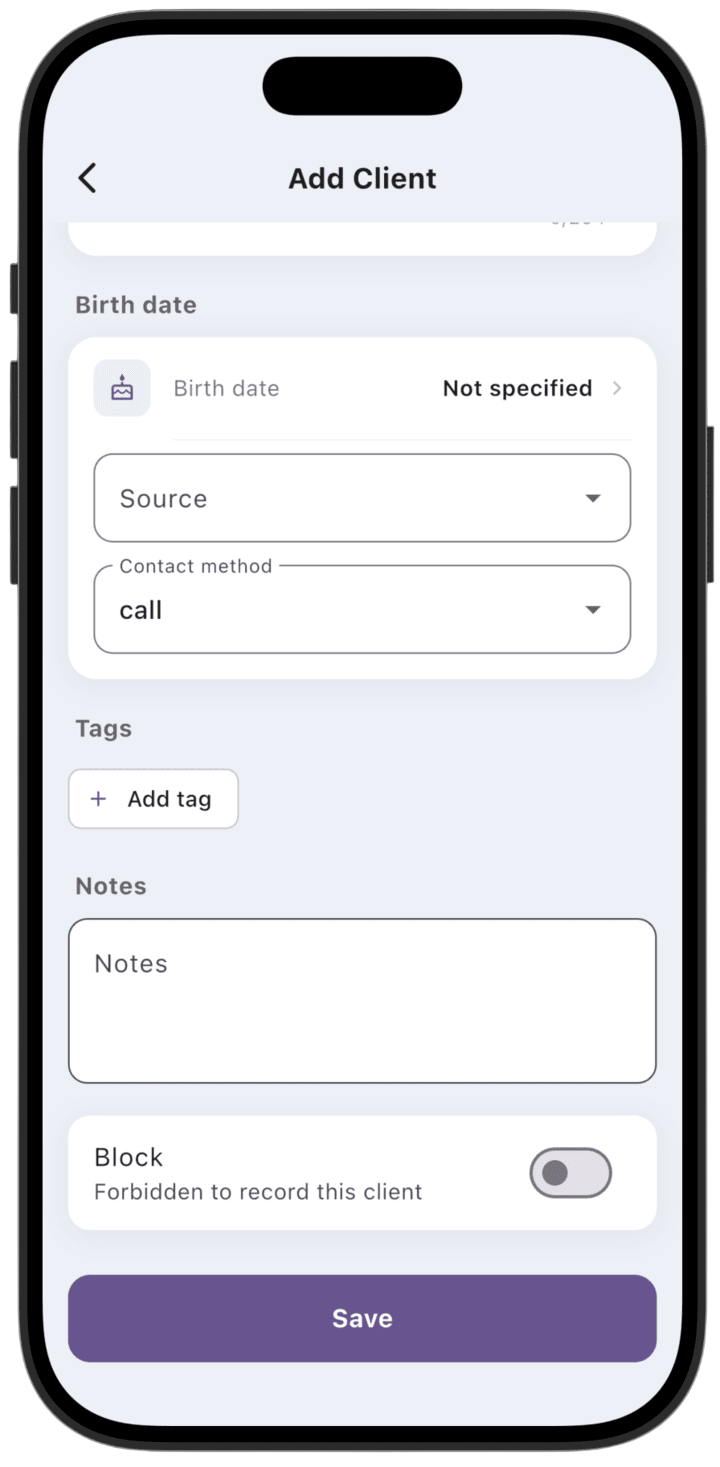
Additional details: set date of birth, Source, and preferred Contact method.
Personalization and management:
Tags: use + Add tag to assign labels that make filtering and search easier later.
Notes: leave important notes about the client in the dedicated field.
Block: if interaction with the client is undesirable, turn on Block (Forbidden to record this client).
Save:
After filling in the required fields, tap Save at the bottom of the screen. The new profile is saved and appears in your client list.