
Instructions for working with material cards are below.
Creating and managing a material
Create a new material
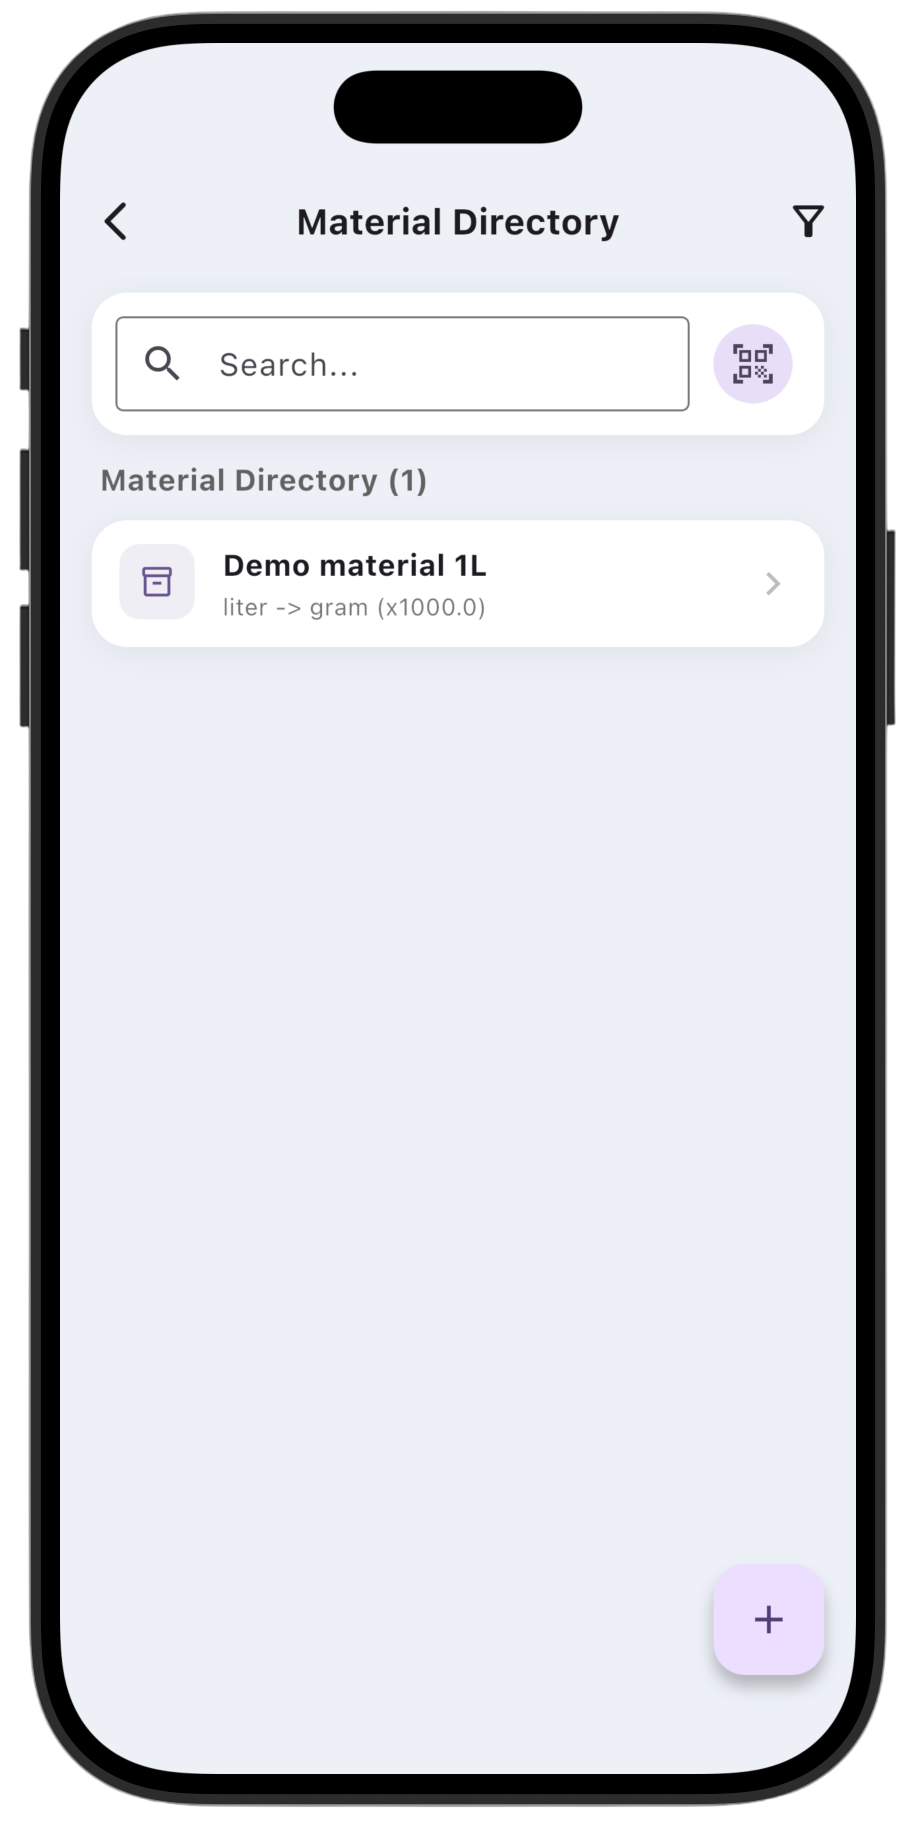
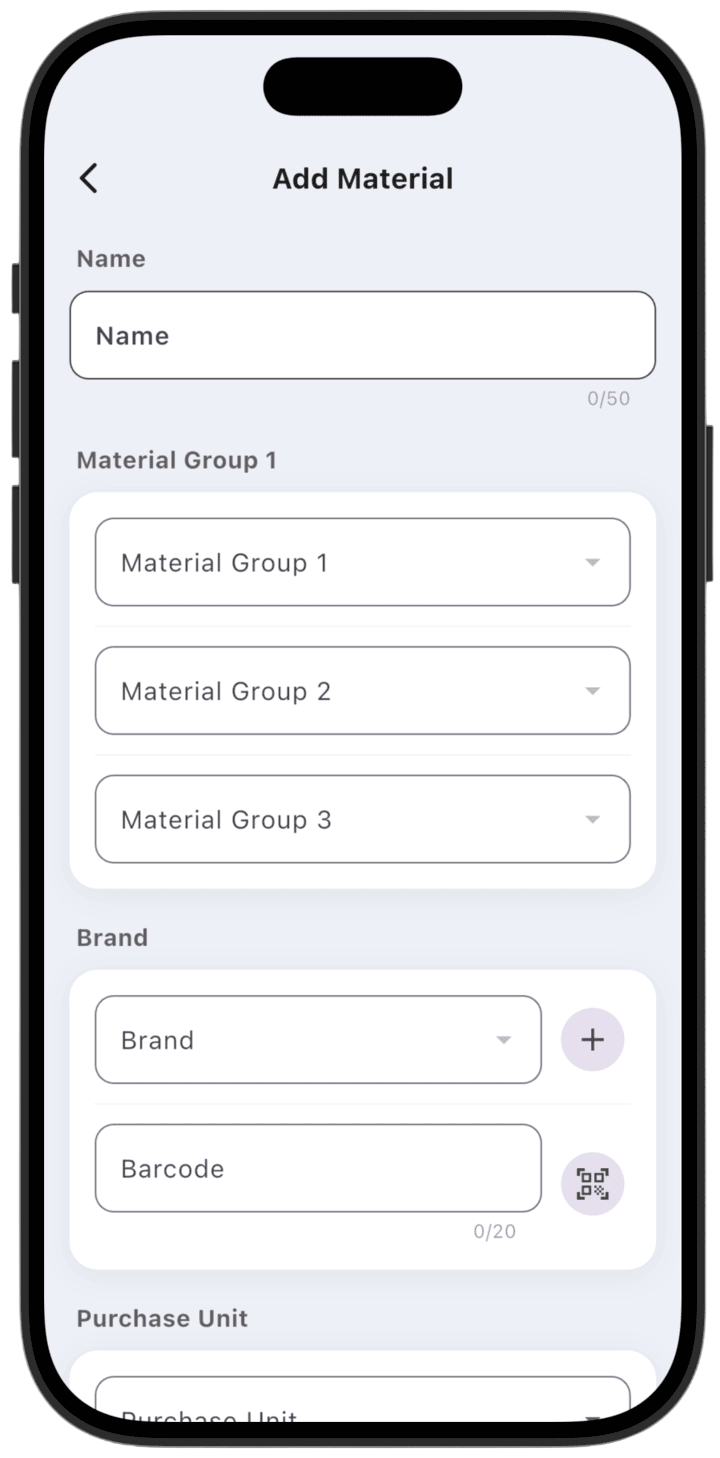
Go to Material Directory and tap +. Fill in the required field: material name.
Optionally select material groups (1, 2, and 3 — these should already exist) and set units of measure.
You can also add a brand with + or scan a barcode with the phone camera.
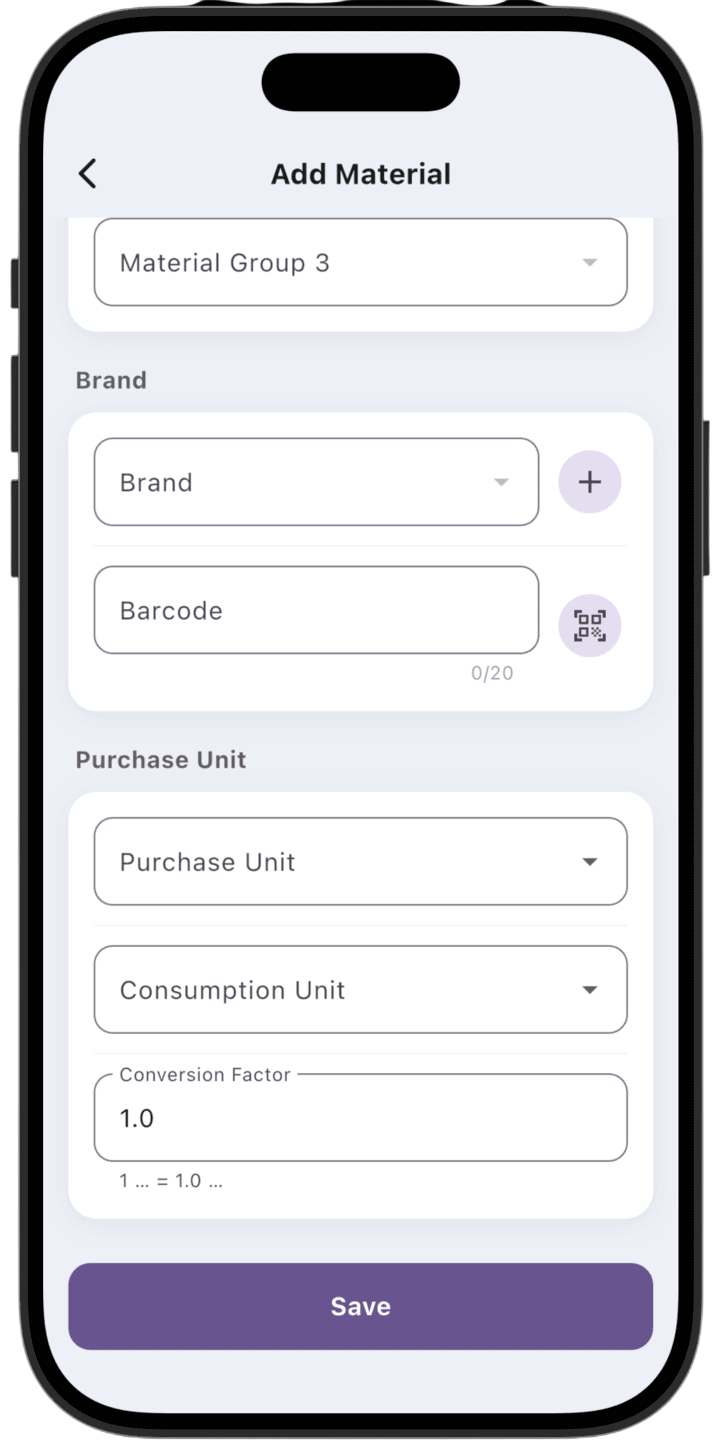
Be sure to specify in which units the material is purchased and in which units it is consumed when providing services or sold, plus the conversion factor from purchase unit to consumption/sale unit (for example, 1 pcs = 1000 g).
Units of measure
The system separates units for correct warehouse accounting:
Purchase Unit: the unit in which the material is bought from a supplier (for example, pcs or liter).
Consumption Unit: the unit in which the material is consumed when providing services (for example, grams or milliliters) and sold to clients.
Conversion Factor: the numeric ratio between purchase unit and consumption unit (for example, if you buy 1 liter, the factor is 1000 mL; if a bottle is 500 mL, use 500).
The same material name in different packaging — for example 1 L and 500 mL — are different materials and need separate material cards.
Edit and delete
Edit: only the Owner can create and change material card data, including groups and units, if there have been no warehouse movements for that material yet.
Delete: a material can be deleted only if it was not used in receipt or consumption operations. Otherwise the system blocks deletion to preserve warehouse integrity.
Users with the Accountant role can only view the material directory.
Tap Save to save the material.